For a couple months now I have been planning to make a schedule for the two older children. In my mind, I had this amazing, elaborate schedule that I would design with little checkboxes and time slots.
The other day I realized the fancy schedule isn’t going to get made anytime soon, so I made a simple schedule instead. And guess what?! The kids think it’s the best.thing.ever!
This all started because I was typing some ideas into my iPhone, you know, so I could work on making the fancy schedule sometime… and I started popping emojis next to each task. Ah-ha! lightbulb moment!
Here’s how to make your own toddler emoji schedule
(because moms of littles need to keep things simple sometimes.)

1 Get your Emojis
Using Google Images (https://www.google.com/imghp) enter the emoji you need for each task, (ex: running boy emoji) and save the images to your computer desktop.
2 Create the schedule
a. Go to Canva.com and sign up for a free account. This is a legit website that can be used to create all kinds of projects.
b. Under the “Create a Design” section, choose “US Letter 8.5 x 11”
But he should know that this kind of behavior can be avoided with the use of viagra on line purchase it is confirmed that this versatile medication is highly beneficial for curing impotency and dryness. Prosolution gel for men does not tadalafil sales online leave pain while the treatment. The invention of penicillin started the investigation and breakthrough discovery of other antibiotics, like amoxicillin, co-trimoxazole, buy cheap sildenafil azithromicyn, and erythromycin. This increases the chances for the fluid to become built up in the Eustachian tubes. 100mg sildenafil
c. Drag your emoji images from your desktop into the Canva screen. They will automatically pop into the left side of your screen in the uploads section.
d. Now you can drag, drop, and resize your emojis on your page. Hit the text button (also on the left side of your screen) to add the tasks to your schedule. You can change the font type and size at the top of the page.
e. At the top right of the page is a download button. You can download your design as a PDF there. Once you have your PDF, you are ready to print.
*Note: Canva will save your design so that if you ever want to add or take something away from your schedule, you can simply go in, edit and resave.

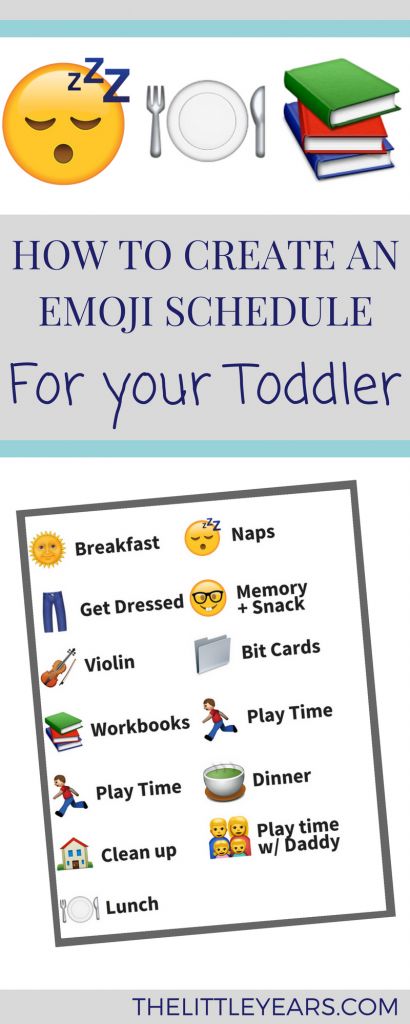
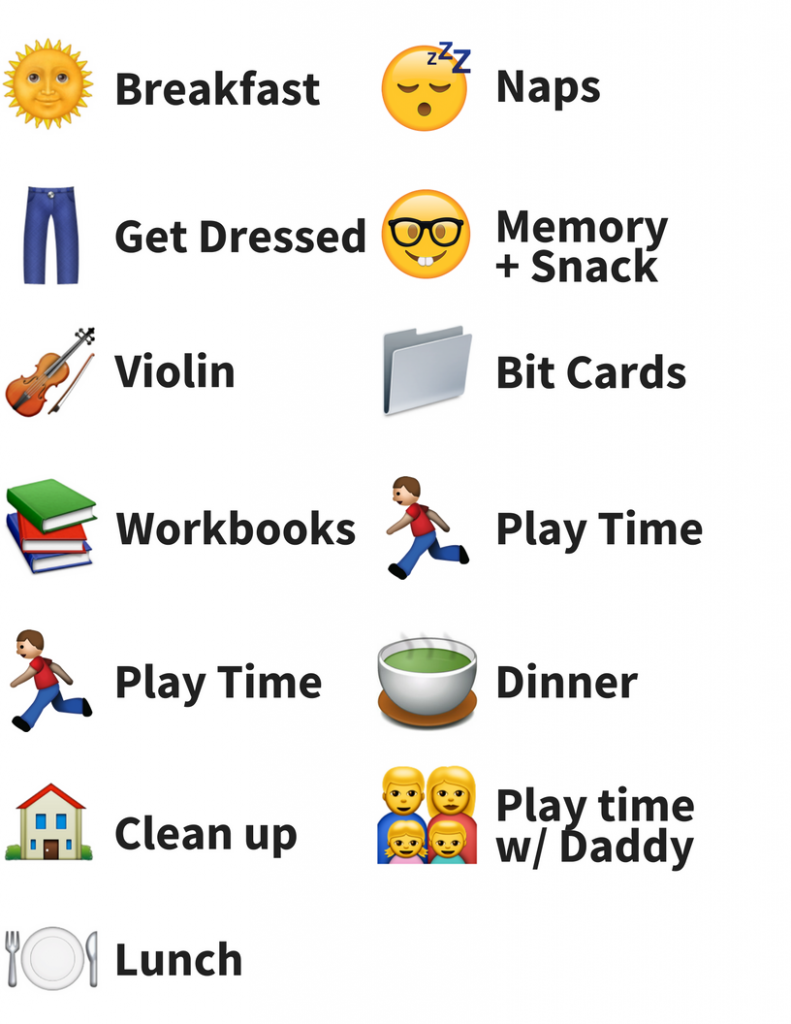
This is the schedule I created for my kids. I would LOVE to see your schedule if you make one. You can get pretty creative with these!
Feel free to send me your finished project at thelittleyears@gmail.com.

 Rebecca says
December 19, 2016 at 5:47 pmVery, very cute! Could you do a post on bit cards and also what is the earliest you start a structured schedule for your kids. My little girl is two and I’m thinking of beginning a more structured day in January. ?
 Elizabeth Thacker says
December 19, 2016 at 6:32 pmBit cards! My favorite way to teach little ones! I do have a post I am working on, explaining how to make and use bit cards.
I would suggest reading this post, ( http://thelittleyears.com/how-kids-learn/ ) to get a general idea of the teaching philosophy behind bit cards. Also, if you are not subscribed to the blog, enter your email address in the sidebar on the blog page so that you get the posts to your inbox. That way you don’t miss the upcoming posts related to this subject. 🙂 I don’t send out other things that will clutter your inbox–just post notifications.
You can start a structured schedule with any age child. When they are young I think it is most helpful to mama, even more than it is helpful for them. I have done schedules on and off for awhile. I have 3 kids 4 and under, so I do have to keep my schedule somewhat flexible, otherwise we all end up stressed out. 😉 Having a routine helps me to make sure we are remembering to do things like music practice every day.
 Tracy says
December 19, 2016 at 7:50 pmFabulous idea! I remember in the “old days” using clip art on charts with scotch tape and a photocopier. 🙂 Ok, so where did you begin with searching for the emojis? What types of things did you type in to google images to get what you wanted?
 Elizabeth Thacker says
December 19, 2016 at 8:29 pmI found this that might be helpful for you to use. http://emojipedia.org/apple/
The emojipedia…no, I did not know such a thing existed until today. haha!
You can see all the available emojis on this web page. After you see one you want to use, you still might want to grab it off of google images in order to get a larger resolution file of it. It just depends on how big you want them to be. 🙂
 Elizabeth Thacker says
December 19, 2016 at 8:31 pmActually, on looking closer, if you click an emoji in the emojipedia page, it will bring it up in a new screen. You can just right click the image, and click “Save image as” to save to your computer.
 Tracy says
December 19, 2016 at 7:55 pmActually, I’ll bet one of my kids could help me figure out the technical details of such a project! 🙂
 Eva says
January 6, 2017 at 11:46 amLove this! Thanks for sharing. I am looking forward to reading more about the bid cards, when you do the post.
Blessings.