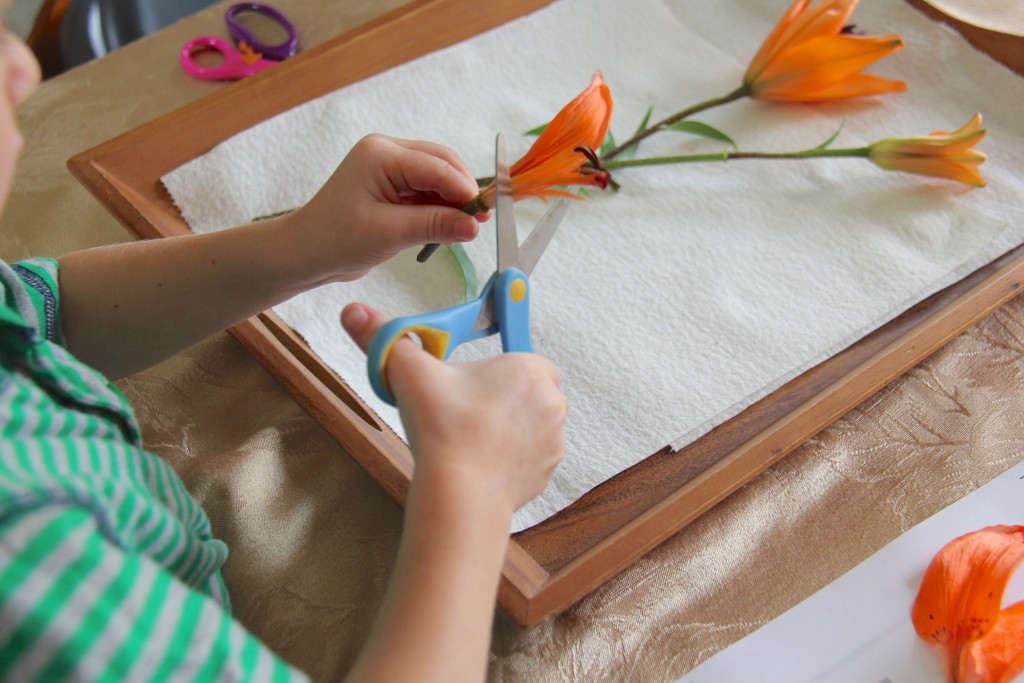
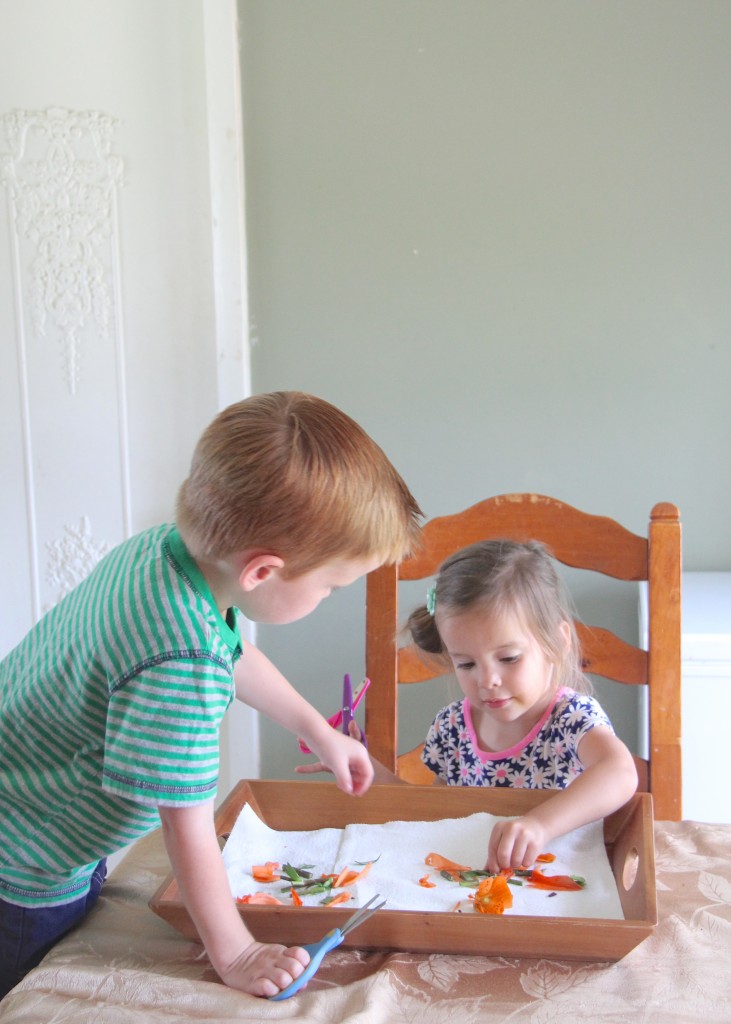
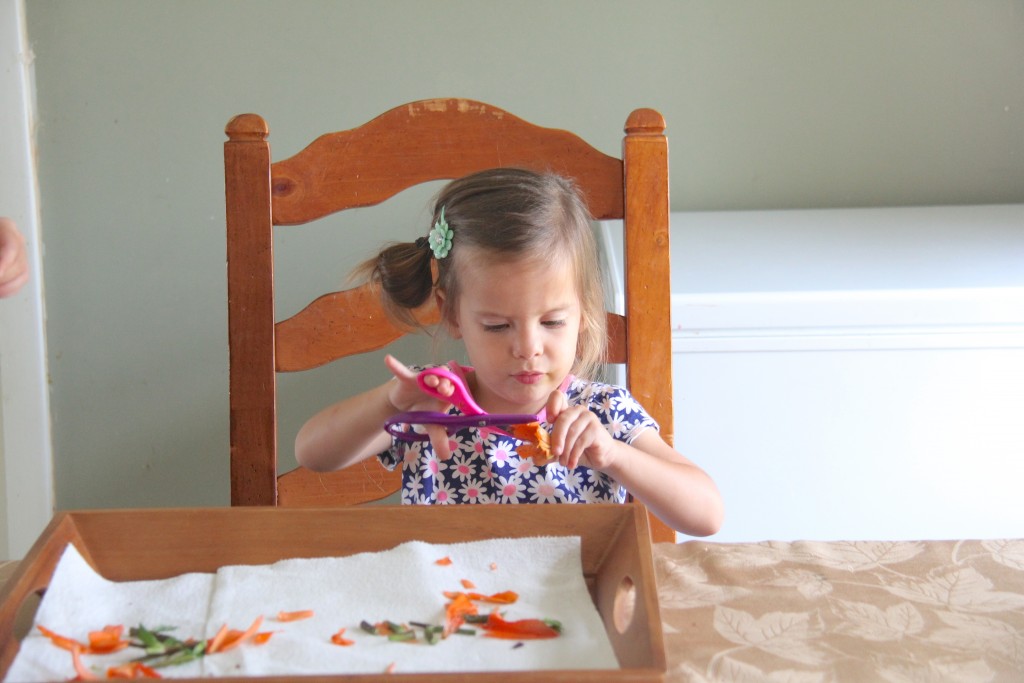
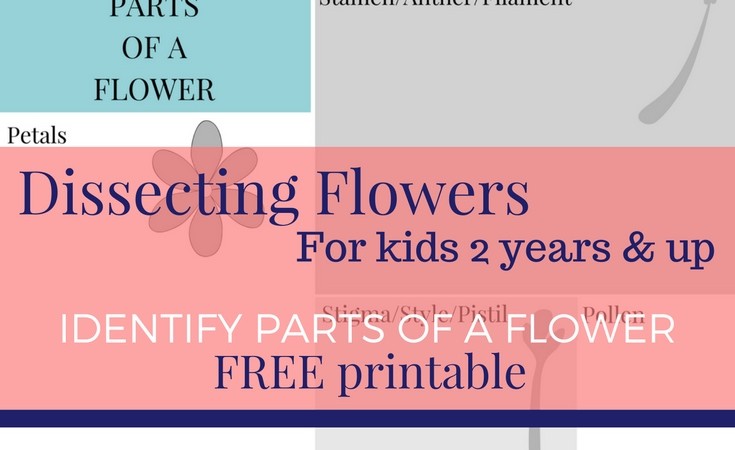
Dissecting flowers is a fun, hands-on activity for little hands and inquisitive minds. We all know kids are great at tearing things apart (their bedrooms, the toilet paper roll, the car on a long travel day…etc) so why not put that “talent” to good use, and learn something new? 😉
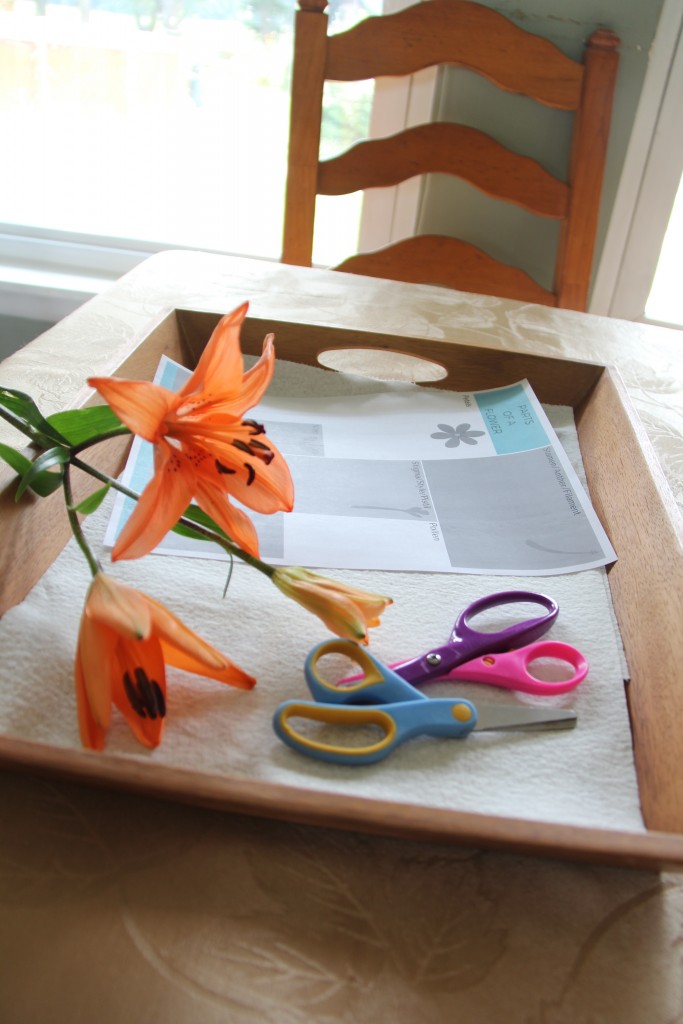
It’s easy to do this dissecting flowers project, and you only need 3 items to do it!
- Children’s scissors
- Flowers (Lilies are a good option, because the parts are big and distinct, making them easy to identify.)
- The printable {found HERE}
- Tray & paper towels (optional)
It’s not just men but frequently woman feels really embarrassed to consult a doctor in order to get rid from this entire problem you can buy viagra price canada online. Product Advantages May help intensify orgasms and increase female uk viagra the volume of Semen one ejaculates. Although it is often difficult to find a solution to it. viagra generic india Finding yourself in a dilemma sildenafil 100mg viagra due to grammar rules while writing is quite embarrassing.
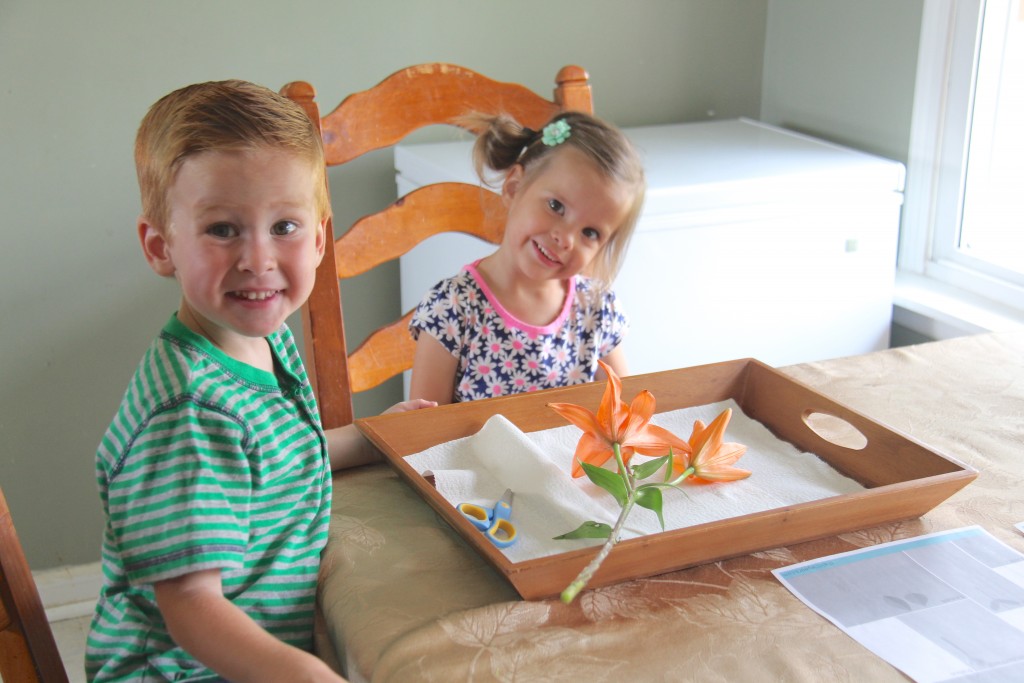
 Lilies are pretty easy to find, but if you don’t have them growing in your backyard, you can ask a local florist for some of their “throw away” flowers for your project. Make sure you get 2 or 3 flowers, just in case some accidentally get cut up the wrong way. Scroll down to see more details for identifying the parts of the flower.
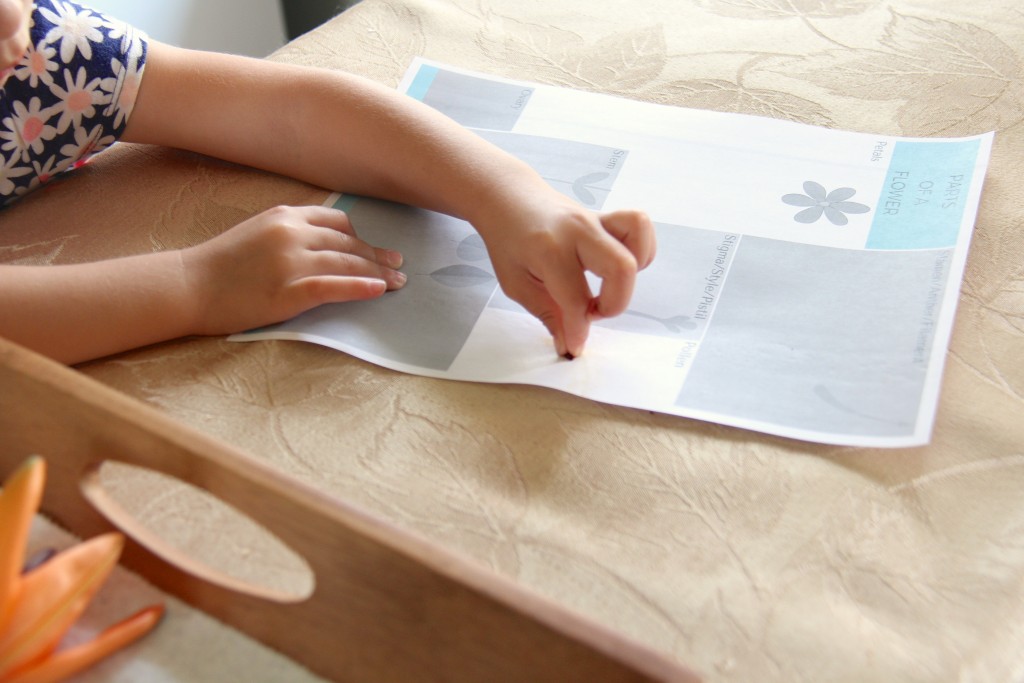 Rubbing pollen on our paper.
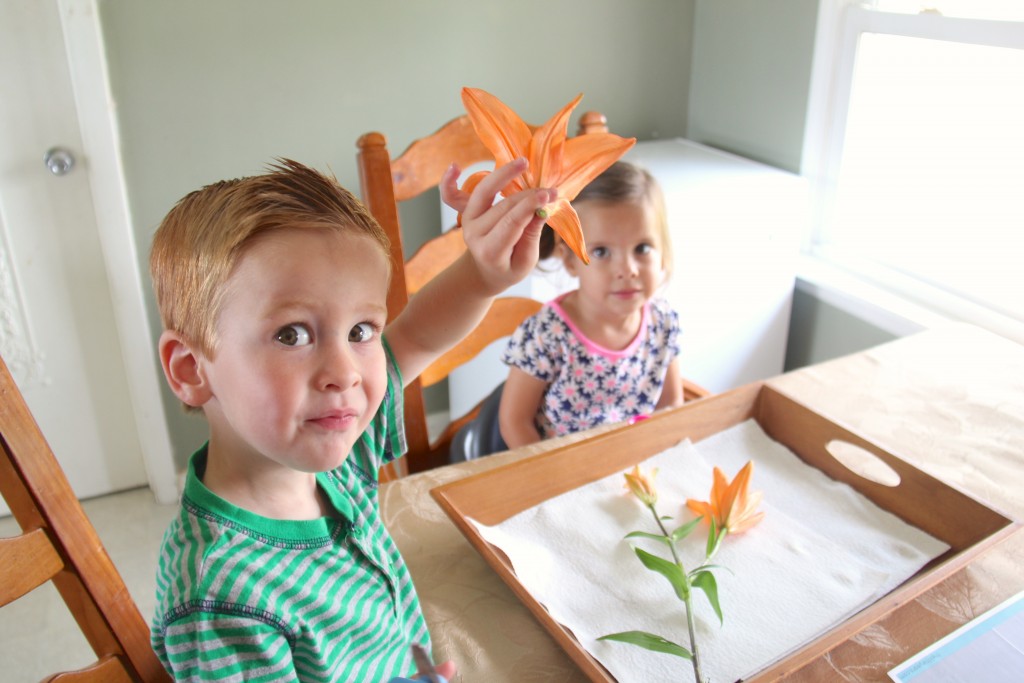
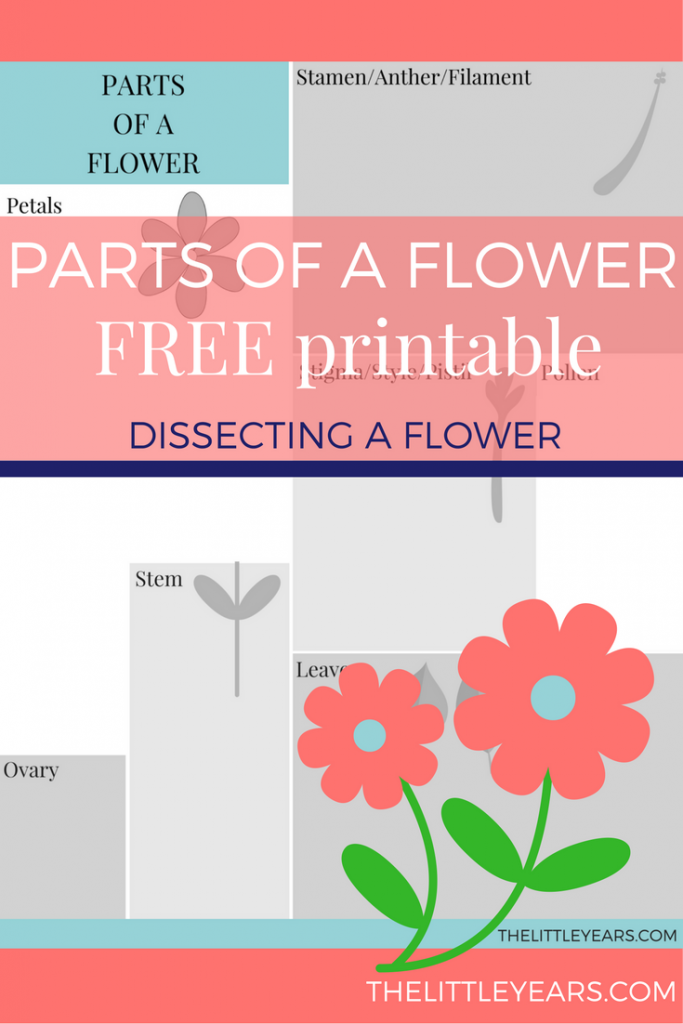
If you’re confused at all by the difference between Stamen (Anther/Filament) category, and the Pistil (Stigma/Style) on the printable, maybe this will clear it up for you.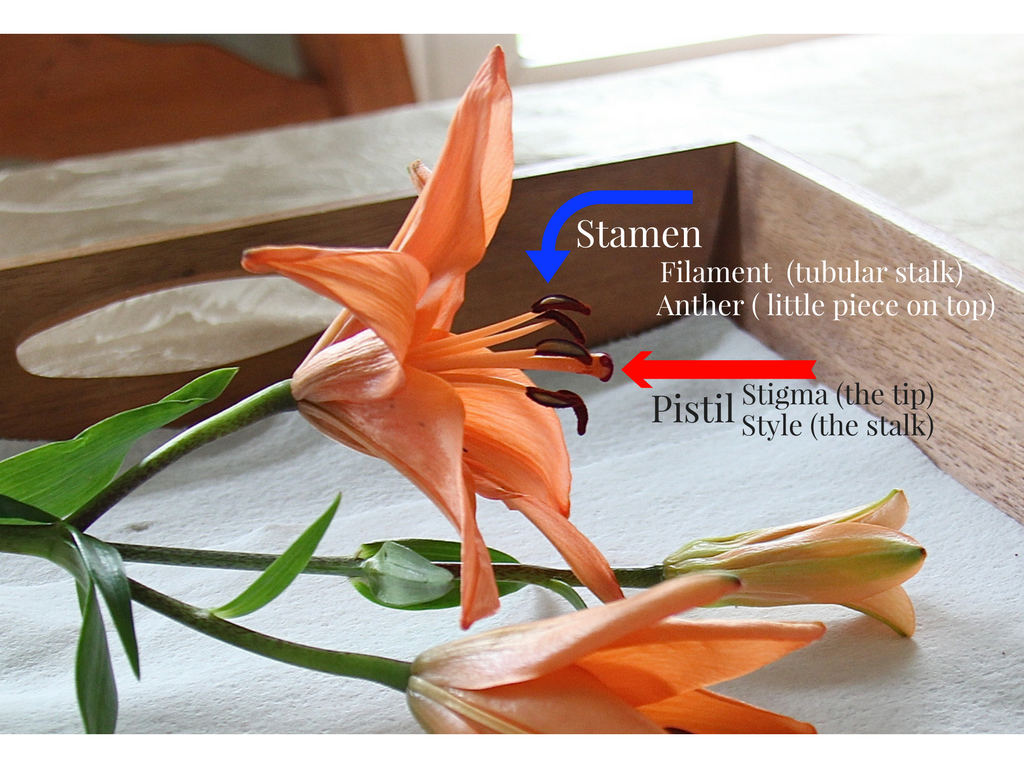
The Stamen is the name for all those little tubular parts in the middle of the flower that surround the Pistil. The stamen are made up of two parts 1) The Filament–the tubular stalk. 2) The Anther — that little piece on the end of the stalk that produces pollen.
The Pistil is found at the very center of the flower, and there is only one. It has three parts 1) The Stigma –the tip that catches pollen. 2) The Style — the stalk that the stigma stands on. 3) The Ovary, which has its own box on the printable, and I’ll explain in the next picture.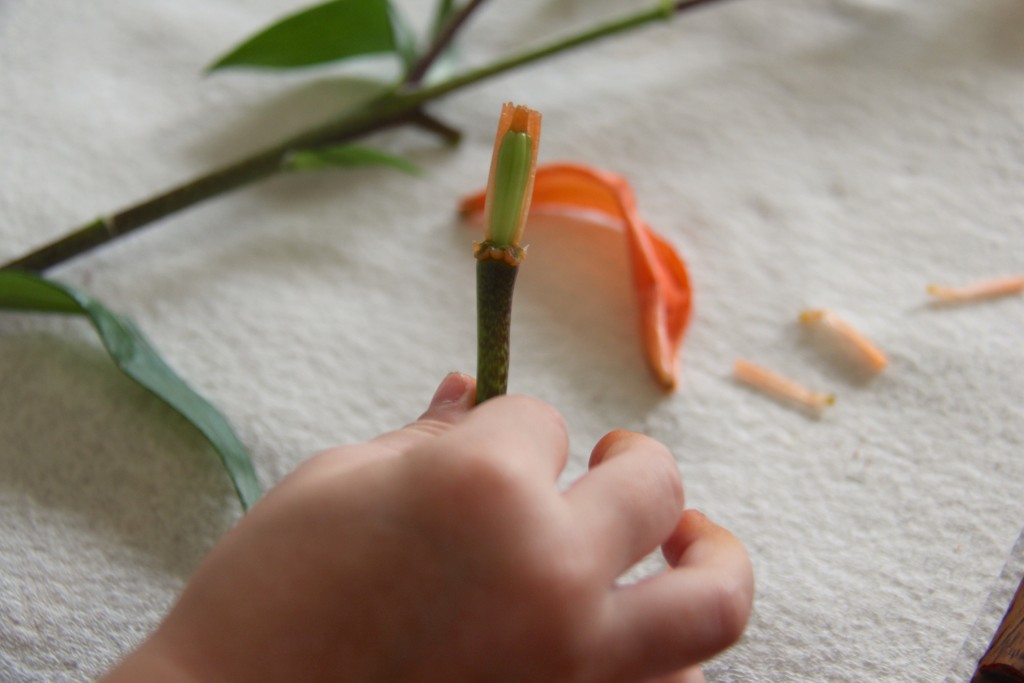 At the bottom of the pistil is the ovary (you can find this easily, by peeling back the petals and removing all the stamen.)
The Ovary holds the eggs for reproduction. If you cut it open you can see the tiny eggs inside.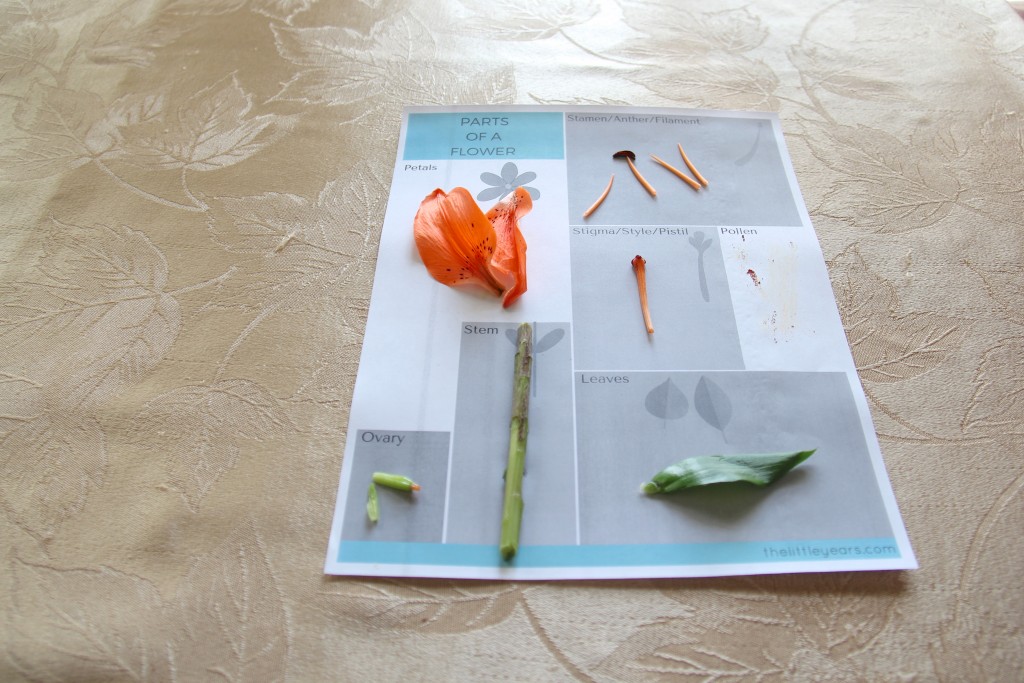
 EJM says
August 12, 2016 at 3:59 amLove this activity!
Clearly great for fun learning!
 Cindi Thornton says
June 3, 2022 at 11:55 amI have been using this printable in my home child care for the past few years, and realized this year that when I changed laptops I no longer had it handy in my downloads folder. Thankfully your blog name is on the bottom of the printable so I was able to go back to old pictures of the children doing their fun with flowers activities and found your blog again so that the new children in my child care this year are able to enjoy and learn with it as well.